Crafting Homemade Candles
Creating your own homemade candles is a fantastic way to personalize your space with unique scents and styles while also making a cost-effective and rewarding hobby. In this comprehensive guide, we will walk you through the supplies needed for candle making, a step-by-step process on how to craft your candles at home, and creative ideas that will add flair to your projects. Whether you’re a beginner or someone looking to refine your skills, this guide will provide you with everything you need to know about the art of candle making, including answers to frequently asked questions about the process.
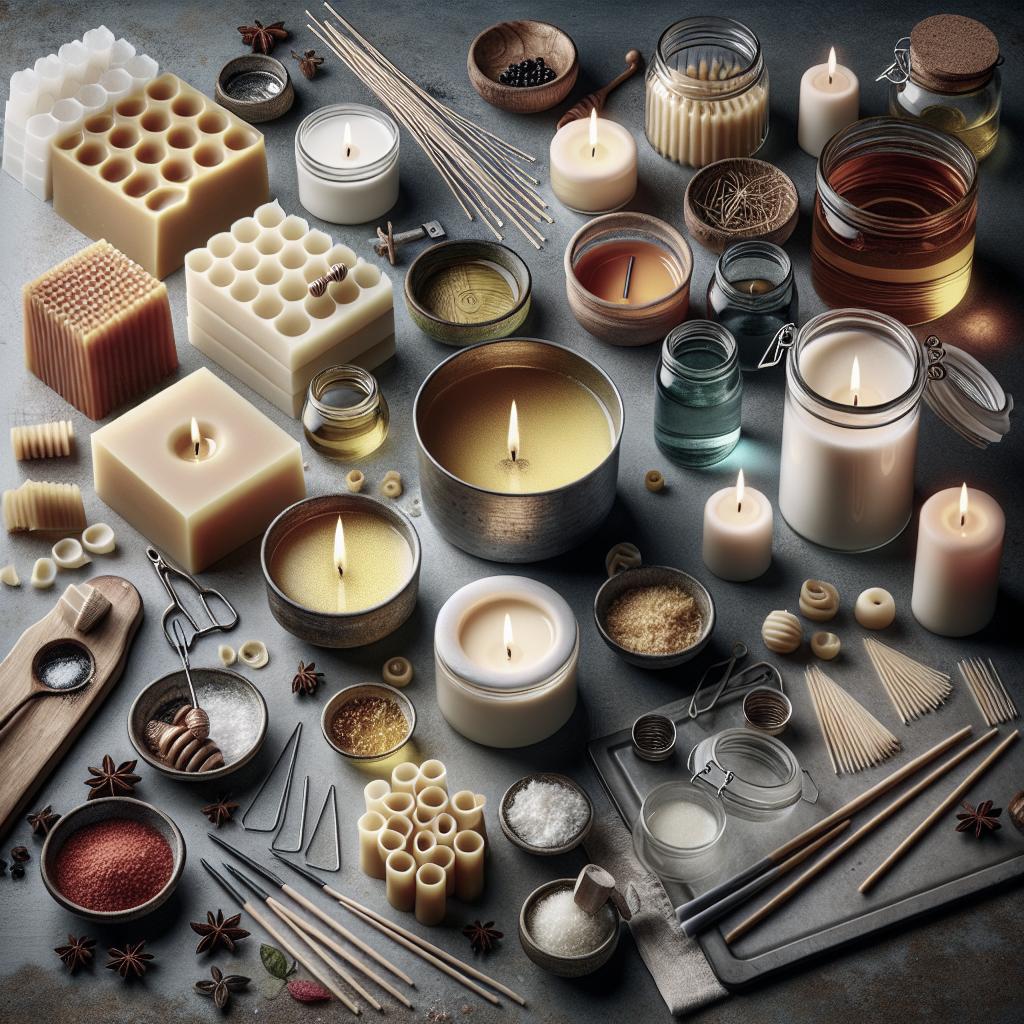
Candle Making Supplies
Wax
Wax is the primary ingredient in candles, serving as the fuel for the flame. Popular options include paraffin wax, which is known for its affordability and availability, and beeswax, valued for its natural properties and light honey scent. Soy wax has gained popularity due to its eco-friendliness and clean burn.
Each type of wax has its own melting point and characteristics that affect the overall burning experience, so understanding these differences can help you choose the best option for your candle-making project.
Wicks
Wicks are critical to the functionality of your candle. They need to be compatible with the type of wax and the size of your candle mold to ensure a consistent burn. Make sure to choose the appropriate wick size to avoid tunneling or excessive sooting.
Cotton wicks are a popular choice for their stability and even burn, whereas wooden wicks provide a unique crackling sound reminiscent of a fireplace.
Molds
Candle molds come in a variety of shapes and sizes, allowing for creativity in candle design. Silicone molds are favored for their flexibility and ease of use, especially for beginners. Metal and glass molds can be used for more structured candle shapes.
The choice of mold can significantly influence the presentation of your candle, offering opportunities to appeal to various aesthetic preferences.
Skewer
A skewer is an essential tool for centering your wick and can be used to pop any air bubbles that arise in your cooling candle. It’s a simple tool but plays a crucial role in ensuring your finished candle burns well.
Using a skewer ensures that the wick stands straight in the middle of the candle, preventing uneven burning or wax pooling.
Dye
Dyes determine the color of your candle, allowing personalization to match home decor or themes. Liquid dyes provide vibrant, easy-to-mix solutions, while dye blocks offer a more subtle hue.
Experimenting with the type and amount of dye can lead to diverse color intensities, offering a personal touch to your candle creations.
Fragrance Oils
Fragrance oils are used to give your candles a beautiful aroma. Essential oils can offer therapeutic benefits, while fragrance oils offer a broader range of complex scents.
The choice of fragrance should complement the environment you wish to enhance, from relaxing lavender for bedrooms to invigorating citrus for living areas.
Double Boiler
A double boiler is crucial for safely melting wax without direct heat exposure, reducing the risk of overheating and potential fire hazards. It allows for gentle, even melting of wax and is a staple in the candlemaking process.
Those lacking a double boiler can use a makeshift setup with a large pot and a heat-safe container for similar results.
Thermometer
Maintaining the proper temperature is key in candle making, especially when adding fragrances or dyes. A thermometer ensures the wax doesn’t overheat, preserving its integrity and avoiding losing scent throw.
Temperature management is essential for achieving smooth candle surfaces and optimal scent distribution.
Spatula
A spatula is used to stir the wax as it melts, ensuring it mixes evenly with dyes and fragrance oils. It also helps prevent air pockets in your wax mixture.
Choosing a heat-resistant spatula is important to withstand the high temperatures involved in candle making.
Candle Containers
Candle containers such as glass jars or ceramic pots are used to hold your candle. These not only serve a functional purpose but also add to the aesthetic of your finished product.
Ensuring your containers are heat-resistant and non-flammable is vital for safety when the candle is lit.
How to Make Candles at Home in 10 Steps
1. Prep Containers and Supplies
Before you begin, gather all your supplies and prepare your work area. Clean your candle containers thoroughly to ensure no dust or residues affect your candle finish.
Having all your tools within reach streamlines the process, making it efficient and enjoyable.
2. Measure the Wax
Estimate the amount of wax needed by measuring the volume of your container, and multiply this by the number of candles you’re making. It’s a good practice to prepare a little extra to account for any potential spills.
Understanding the volume ensures you don’t waste wax and provides consistency across your candle creations.
3. Melt the Wax Mixture
Place the wax in your double boiler and begin melting over a medium heat, stirring occasionally with your spatula. Monitor the temperature carefully with your thermometer as wax should not exceed a specific range dictated by the type of wax you’re using.
Melting the wax properly ensures it integrates well with fragrances and dyes, laying a solid foundation for the subsequent steps.
4. Add Your Fragrances
Once the wax is melted and removed from heat, add your chosen fragrance oil, stirring gently to combine. It’s important to follow the recommended oil-to-wax ratio to avoid excessive or muted aromas.
Crafting a balanced fragrance requires experimentation, offering opportunities to blend different oils for a signature scent.
5. Place the Wick
While the wax is cooling (but still liquid), place the wick in the center of your candle container. Use a dab of wax to secure it at the base and prevent it from moving.
Centralizing the wick is crucial to allow an even burn and maximum fragrance release.
6. Stabilize the Wick
Use your skewer to ensure the wick remains in place, or consider using a wick holder. This helps maintain the wick’s position as the wax begins to solidify.
A firm, steady wick is less likely to shift, which contributes to optimal burning performance.
7. Pour the Wax
Carefully pour the mixed scent into your container, avoiding any spills around the wick. Slow pouring minimizes the introduction of air bubbles and helps achieve a smooth surface.
Pouring accurately prevents a chaotic look and makes for a professional finish.
8. Clean Up
Immediately after pouring your wax, take time to clean your tools and work area, removing any wax residue from your boiler and spatula.
Cleaning immediately avoids hard wax remainders on equipment, making future projects seamless.
9. Wait for Your Candle to Cure
Patience is key. Allow your candle to cool and cure completely, which can take from a few hours up to overnight, depending on the wax type and container size.
Curing allows time for the candle to fully develop its fragrance and structural integrity.
10. Light Your Candle
Trim the wick to a safe length of about 1/4 inch before lighting. This prevents excess smoke and promotes a steady flame.
Your beautifully crafted candle is now ready to infuse your space with light and aroma!
Candle-Making Ideas
Exploring diverse design ideas can bring additional flair and passion to candle making. Try layering different wax colors or incorporating botanical elements like dried flowers to achieve a rustic, natural look.
Personalized labels and decorations also enhance the appeal and can serve as wonderful gifts for loved ones during festive seasons.
Read More
To expand your horizons in candle crafting, consider delving into advanced techniques incorporating embeds or gradient designs. Join candle making communities online to share tips, buy and sell unique creations, or participate in workshops. These resources can enhance your skills and spark new artistic endeavors.
How to Make Candles FAQ
What Type of Wax is Best for Candles?
The best choice varies based on personal preferences and purpose. Soy wax is sustainable and offers a clean burn, but beeswax is naturally purifying, while paraffin wax is cost-effective and commonly used for vibrant colors and strong scent holds.
How Do You Make Homemade Candles?
The process involves gathering your supplies, preparing them, melting the wax, integrating dyes and fragrances, positioning the wick, pouring the wax into a container, and allowing it time to cure before enjoying.
What Ingredients Do You Need to Make a Candle?
You will need wax, a wick, fragrances, and optional dyes. A container, double boiler, thermometer, spatula, and a tool like a skewer are also required for crafting your candle.
Is It Cheaper to Make Your Own Candles?
Making your own candles can be more cost-efficient, especially when purchased materials are used efficiently across multiple projects, but the initial investment may seem higher if only creating a few at a time.
How Do I Make My Candles Smell Stronger?
To achieve a stronger scent throw, ensure you use high-quality fragrance oils, match them to the correct wax, and adhere to recommended usage ratios while blending at ideal temperatures.
Future Prospects
| Step | Description |
|---|---|
| Supplies | Understanding and gathering all necessary materials. |
| Candle Making Process | A structured 10-step guide from preparation to lighting. |
| Candle Ideas | Creative ideas for enhancing the aesthetic and use of candles. |
| FAQs | Answers to common questions and concerns about candle making. |